How to Mark the Right and Wrong Sides of Difficult Fabric
Some fabrics just love to play tricks on us. You lay them out, admire the beautiful texture or pattern, and then pause. Wait… which side is the right side again?
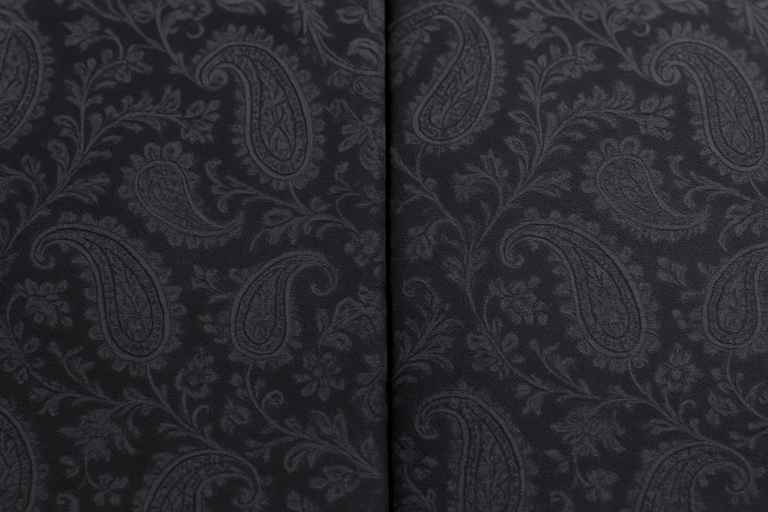
This becomes a serious issue when you’re working with fabric where both sides look almost identical. Maybe it’s a delicate satin with a very subtle sheen or a dark, patterned cotton where the differences are barely noticeable. Once it’s been cut, shifted around the table, and flipped during construction, it becomes a guessing game that can lead to costly mistakes.
The Real Problem
You’re sewing with a fabric that has a nearly invisible difference between the right and wrong side. This could be due to:
- A subtle weave or finish
- A dark colour where chalk marks don’t show
- A busy print that repeats identically on both sides
- A delicate texture that doesn’t take kindly to pens, chalk, or even pins
This problem becomes even more intense when you’re cutting multiple pieces or complex patterns. You think you’ve kept track, only to realise later that one piece is flipped. And on some fabrics, there’s no going back.

When It All Goes Wrong
Let’s not sugar-coat it. Mistaking the right and wrong side can have disastrous effects on your finished piece:
- You sew the garment together, only to discover the sleeves are duller or the bodice has a different sheen.
- Seam allowances feel rough against the skin because they’re now on the outside.
- Your careful print placement is thrown off, ruining the aesthetic you planned.
- You waste precious fabric trying to re-cut pieces that are now unusable.
- Delicate fabrics fray or warp when you try to unpick seams.
This can be especially devastating if you’re working with expensive material, a gift project, or something that needs to be completed on a deadline.
Fabric-Safe Solutions to Mark the Wrong Side
Fortunately, there are several clever and gentle ways to solve this problem without damaging your fabric. These methods are designed to work even on delicate, dark, or patterned fabrics that resist typical markings.
Use Washi Tape
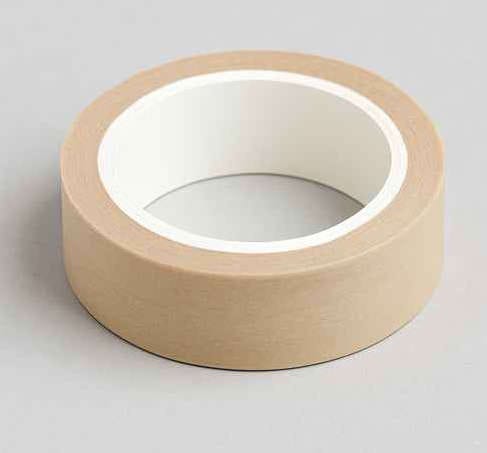
Washi tape is a low-adhesive tape made from Japanese rice paper. It’s often used in crafts and journaling, but it’s surprisingly handy for sewing too.
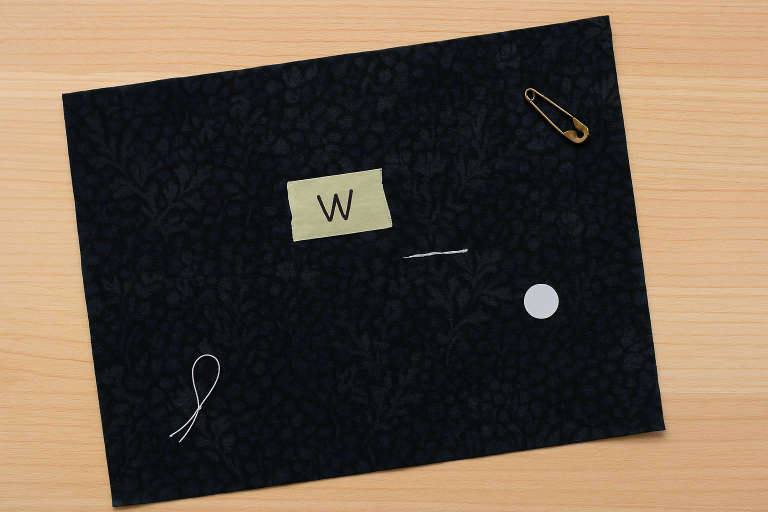
- Stick a small square to the wrong side of each fabric piece immediately after cutting.
- You can write a small “W” or label the piece.
- Washi tape is gentle, doesn’t leave residue, and peels off cleanly when you’re done.

Hand Basting with Contrasting Thread
A simple, foolproof method that works even on very delicate fabrics.
- Use a few loose stitches of a contrasting thread within the seam allowance on the wrong side.
- Make the stitches large and visible enough to spot easily.
- When it’s time to assemble, you’ll know exactly which side is which. Snip the threads out just before the final stitch.

Tiny Safety Pins or Bulb Pins
These can be a safe bet for fabrics that don’t mark easily.
- Use fine, delicate safety pins or bulb pins in an inconspicuous spot within the seam allowance.
- Be gentle to avoid snagging. These are best used on fabrics that aren’t too fragile.
- Bulb pins are great because they don’t stretch or distort the weave.
Removable Sticker Dots or Labels
Office supplies to the rescue. Sticker dots or small Avery-type labels can mark the wrong side safely.
- Choose removable labels with very light adhesive.
- Press them gently onto the wrong side.
- Ideal for smooth, non-textured fabrics.
Tack a Small Thread Loop
This method is subtle, invisible from the front, and safe for even the most delicate fabric.
- Use a needle and thread to create a tiny loop or knot on the wrong side.
- Do it close to the edge or within a dart or fold.
- It stays out of the way and is easily removed when you’re done.
Cut Fabric with Right Sides Together
Prevention is better than cure.
- When laying out your pattern pieces, fold the fabric right sides together.
- Cut both layers at once so you know the outer surfaces are the wrong sides.
- Mark just one of the layers to keep track.
Chalk (If You Must)
Not ideal, but it has its place.
- Use chalk only if you know it will show up on your fabric and brush off easily.
- Test first on a scrap.
- Apply marks within seam allowances or inside darts, and sew quickly before it fades.
Bonus Tips
- Keep a scrap piece of your fabric marked with permanent labels showing the right and wrong side. This is handy to reference if you ever lose track mid-project.
- Take photos of your fabric layout before cutting, especially if you’re using directional prints.
- If you’re working on a multi-day project, store your pieces in clearly marked envelopes or ziplock bags, noting the right side on each.
Final Thoughts
Sewing should be joyful, not a series of accidental surprises. Working with tricky fabrics doesn’t have to mean frustration or wasted material. With a few of these gentle, fabric-safe marking methods in your toolkit, you’ll always know which side you’re working with.
So go ahead—cut, sew, and press with confidence, knowing you’ve outsmarted even the sneakiest of fabrics.
Would you like a downloadable printable version of this tip sheet to keep by your sewing machine?